Renaissance man

Renaissance man

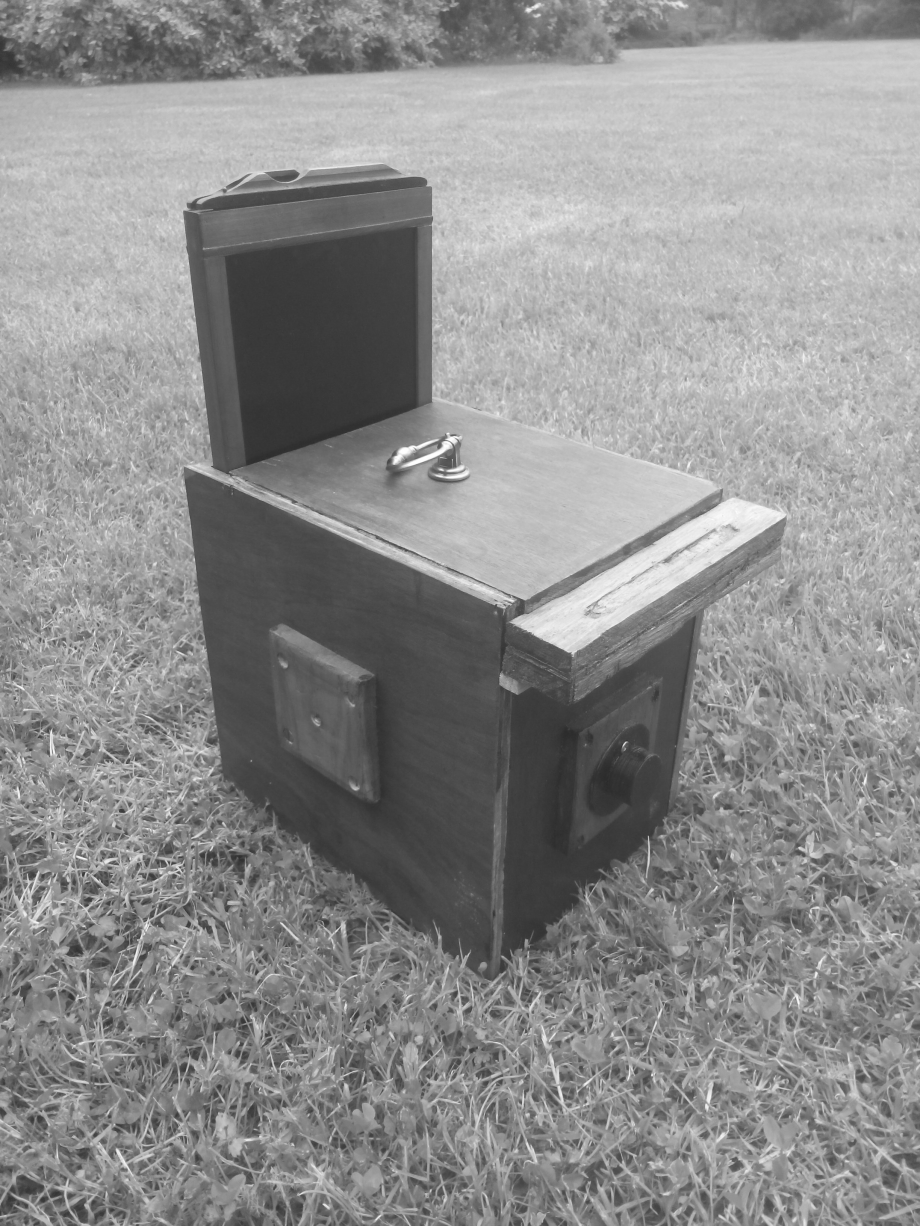
My new pinhole camera

For any reasonably competent DIYer this would be counted as amateurish and laughable, especially with the time it took to make.  But here it is.


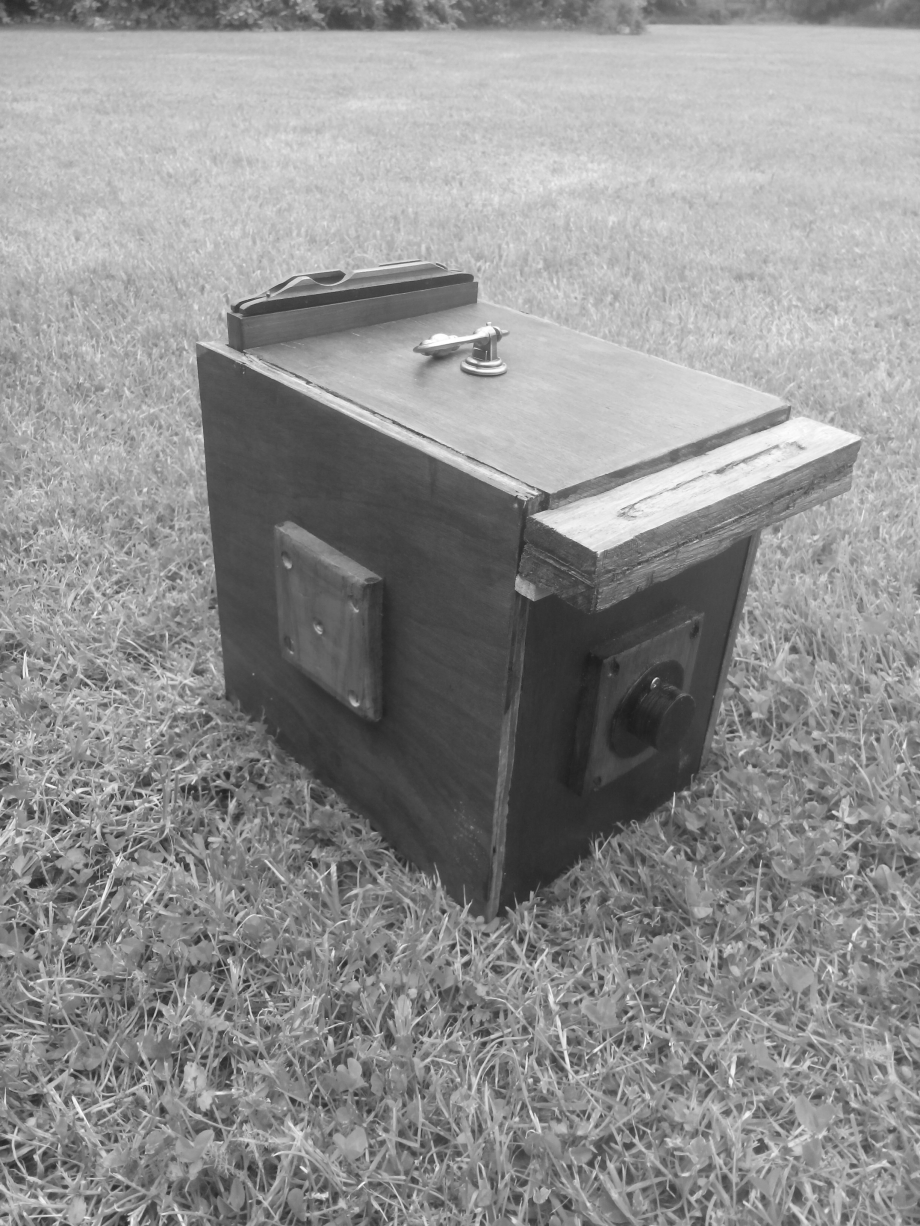
After 9 months of try outs with various types of wood.  Learning their characteristics and opting finally for simple plywood.  I finally have a pinhole camera that accepts 5*7 darkslides.  This now enables me to take several pictures without running back home to load new paper.  It was worth the effort.


                                                                           IMG_20180610_113957.jpg


IMG_20180610_113936.jpg


Yes, the intention was to dovetail the joints, but I am no carpenter (plywood just splinters and oak is very brittle) and I finally decided the priority was 'make the camera' not make it look beautiful.  It turns out that it is strong enough as is, since I have dropped it a couple of time with no breakages.


10/06/2018
0 Poster un commentaire

Projection dome

Ever since my first hands on a computer in the eighties, my dream has been to have a room as described in Ray Bradbury's short story 'The Veldt'. A virtual reality room to explore.

Technology is now getting close to this dream (if we ignore the psychological element to the story).

This is a project to enable me to immerse myself completely in the mmporgs I play (Eve-online, TESO, ....) and maybe also to explore virtual landscapes, museums etc as envisaged by Ray Bradbury.

I have started this project several times all with no success until recently 
(I am not very manual), I found a link that described the simplest method for constructing a dome.  This is my attempt number 4 :)

First off, here are some useful links to explain the basis of the project :
                               Paul Bourke : Dome Projection
This link gives the principal idea behind the project; replacing the expensive lens systems for spherical projection used by planetariums and tourist centers like Futuroscope in Poitiers, France (by the way, if you haven't been there, I highly recommend it):
       

My initial attempts were based on trying to get a real  spherical dome (hence the failures).  I then decided to go for the geodesic dome and there are plenty of sites enabling one to calculate the dimensions of a geodesic dome.  This is one that I used :
                              Geodesic dome calculator

The link is for a 3V geodesic dome which I feel is a good compromise between the number of triangles and the 'dome smoothness' for projection. For a 2 metre diametre dome this means 75 triangles to cut (2 types of triangles).

For the triangles I obtained cardboard boxes (the type used for moving house).  The dimensions have to be farely big.  I found it easier to buy them than trying to get enough for 75 triangles.  I bought them at my local Leclerc Brico at 2.99€ each.  

Each box was 80 * 40 *40cm which gave me 4 Type A triangles per box or 6 * Type B triangles per box.  Unfortunately lots of waste but can't be helped if you avoid the creases that are used to create the box.

Résumé of the materials and costs :

- 17 Packing boxes (80 * 40 * 40cm)                        €51
- 3 White glue (example : Giotto BIB Bricolage)         €25
- A good metal cutting ruler                                        €10
- A good stanley knife                                                €5
- 2 plastics 5mm sheets (50 * 40cm approx)              €10
(costs are approximate).

I avoided the simple 30cm metal rulers as there is a lot of cutting involved, I opted for a heavy duty ruler with handle as is the case with the stanley knife.  No sense risking injury.

First stage

So, according to the geodesic dome calculator, we have 45 triangles (40cm base with 41cm sides) and 30 triangles (40cm base with 35cm sides).  Each triangle has to have 2cm flaps on each side so that they can be glued together


First thing is cut these two triangles with their flaps on the plastic sheets.  These plastics sheets will be our templates for the cardboard cutting (saves time measuring).

40/35/35 triangle plastic template 

40/41/41 triangle plastic template

Once the models are cut and ready then we can start drawing the flapped triangles on the cardboard.  As I said one can get 4 type As and 6 type Bs :

Type A cut plan  (one side of the box being shown ):


Template with one triangle drawn


Type B cut plan  (one side of the box being shown and obviously not to scale ):

The drawing is naff but the last triangle I had to mirror  turn to fit in.  There is a possible configuration that one can find using the mask to fit 6 triangles per packing box for the type Bs.


One template and folded cardboard triangle

Once all the triangles were cut then I modified the plastic templates.  I removed the flaps from each triangle (only on the plastic sheet templates!).  Now with two new templates fot the exact triangle sizes, I could now draw the triangles on each of the 75 cardboard flapped triangles.

This meant I then I had a guide for folding the flaps.  I used the heavy duty metal ruler to provide a clean fold along each flap.

Second stage

Second stage involved gluing all these traingles together.  According to the Geodesic calculator site it seems that the dome is composed on a second level of hexagons and pentagons (actually they opt for the larger triangle : hexagon with 3 smaller triangles at each corner but I figured this would be impractical).

So I set to produce 5 hexagons, 5 half hexagons using the 40/41/41 triangles and 6 pentagons using the 41/35/35 triangles.

Pentagons, hexagons and half hexagons

3rd stage

3rd stage involved painting the shapes.  I chose a very very light grey.  Most projection surfaces use an almost 15% grey and knowing that I will be losing a lot of light during the various process getting the image to the screen, I opted for an almost white grey.  In the hope that this will still reduce interior reflected light and still permit a bright projected image.  I estimate that its a 5% grey.  

I opted to do the painting now so that I can cover the joins with masking tape and hopefully reduce the unwanted bumps and crevices of all the triangles.  This would be easier before completing the dome.


Painted pentagon


To be continued......

18/08/2014
0 Poster un commentaire

Wanderer

I think the age of childhood motivations has gone.  With the advent of television, there is no longer 'I want to fly because when I was a child....', 'I want to do this or that because .....'  

Its sad but I think its the truth and it started with my generation.  The 60's and later have a lot to answer for.


However I do wonder if its just a case of rose glasses and belief in old timer's stories about their motivations.


On my childhood bedroom wall hung a map of the world with small cartoon drawings describing famous parts of the world: the pyramids, camels, whales, Empire state building and the rest.  I like to think that maybe, just maybe, that was my motivation for travelling.  It was a magical map and I have sinced visited many of these areas I used to dream about.  I still have it rolled up somewhere.  Difficult to scan but I will take a photo of it soon and include it here.


I am of the age now that I find that when someone mentions a place I cannot remember if I actually visited it or not.  Does it matter, you may ask.  Yes, it does to me and this is a little reminder for myself so that I do not lose the memory in some unused part of my grey matter nor in some chkdsk'ed hard disk that refuses to let go of it's secrets.


I suppose I could write all of it down, but then as I said the 60's and later have a lot to answer for :D  A pen, whats that?


To be continued....


15/01/2013
0 Poster un commentaire

Conway's Game of Life


Introduction

Fascinating view of how chaos can organise itself into patterns.


Perhaps it is the basis of the universe, a self organising system cancelling out the inevitable second law of thermodynamics. 


Starting off with the clumping of gases in the primordial soup that was our universe, into galaxies, stars and planets, to the self organising clumping of clays in the primordial earth that was our planet and ending with the self organising organic molecules that created life.  


Now these self organising clumps that is life can catalyse new lumps and in this way counteract even more the inevitable entropy of matter.


This project is simply a look at Conway's Game of LIfe and some modifications on the theme in order to better understand Chaos and Complexity.


Conway's Rules :

    1. Any live cell with fewer than two live neighbours dies, as if caused by under-population.
2. Any live cell with two or three live neighbours lives on to the next generation.
3. Any live cell with more than three live neighbours dies, as if by overcrowding.
4. Any dead cell with exactly three live neighbours becomes a live cell, as if by reproduction.

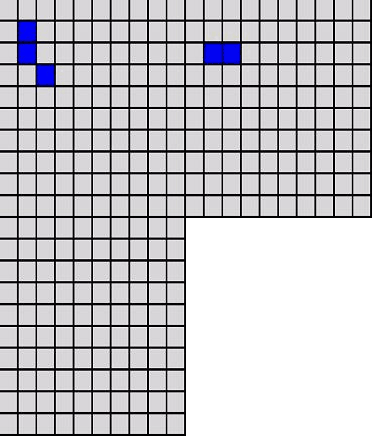
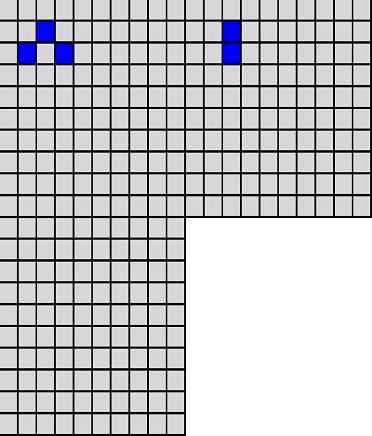
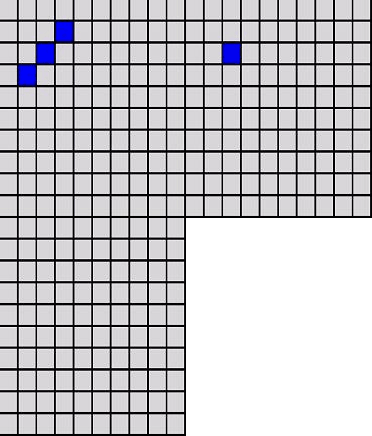
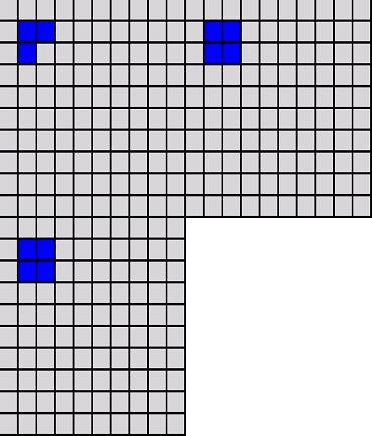
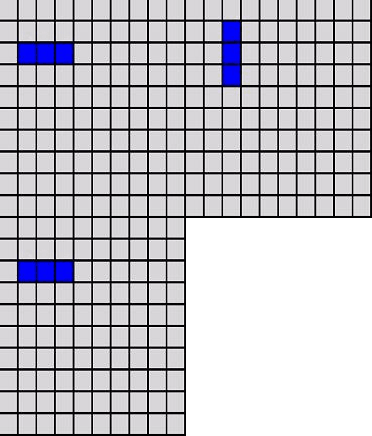
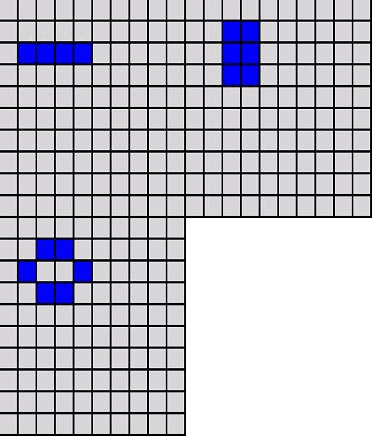
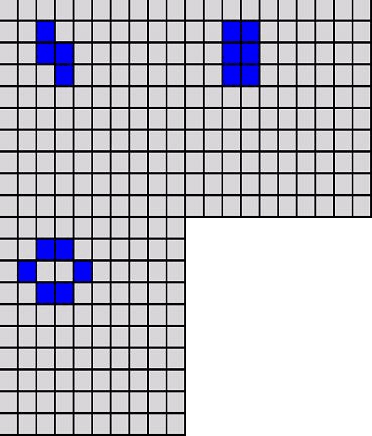
 Tests using 2 or less counters.


 Counters disappear on first move


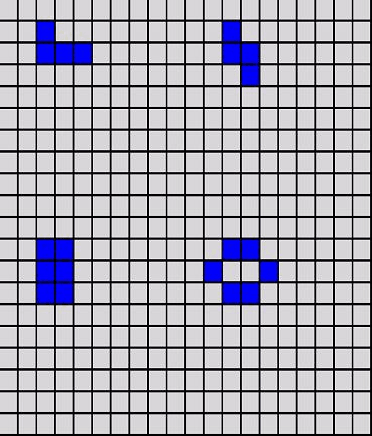
 Tests using 3 counters :


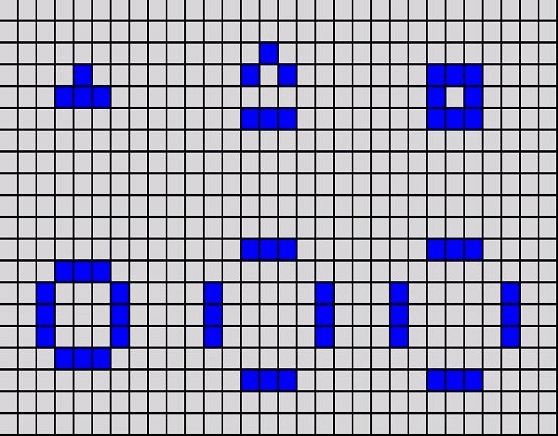
 Tests using 4 counters :


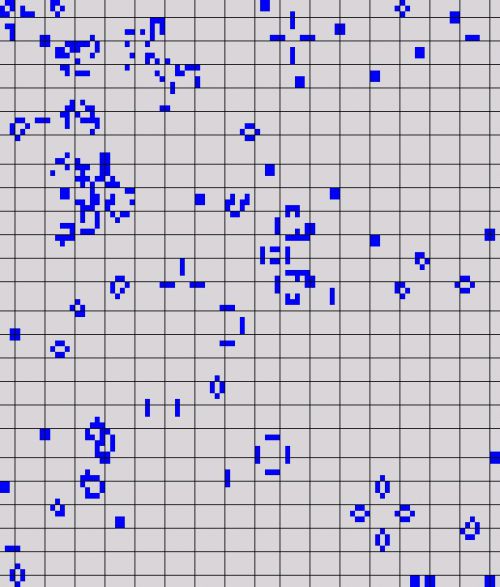
The 4 basic Conway rules (see above) as applied to a randomly seeded 40 x 40 board :


05/01/2013
0 Poster un commentaire

Dobson

Projet de construction d'un téléscope dobson

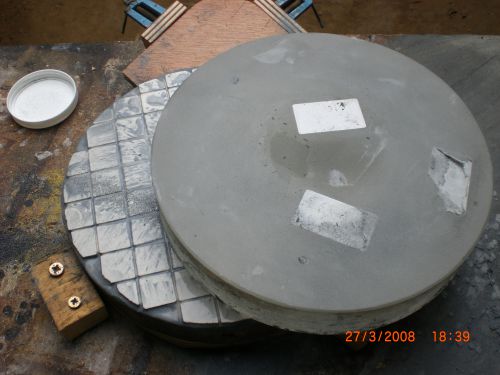
En 2008 j'ai commencé un projet de création d'un téléscope dobson avec comme premier étape la création du mirroir de 250 mm

Après plusieurs semaines d'investigation, de recherches et lecture je me suis lancé en commandant le verre pyrex de 10" et un kit de polissage auprès de GotGrit


Pendant mes recherches j'ai trouvé sur le site stellafane  la suite des abrasives recommandés (en microns):

420
254
165
102
63
32
20
15
12
9
5

1.  Construction de l'outil pour rendre le verre sphérique


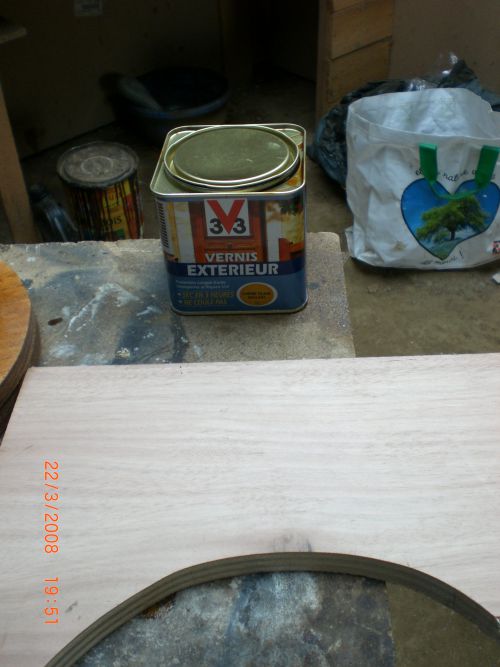
Le verni utilisé pour la base de l'outil en bois


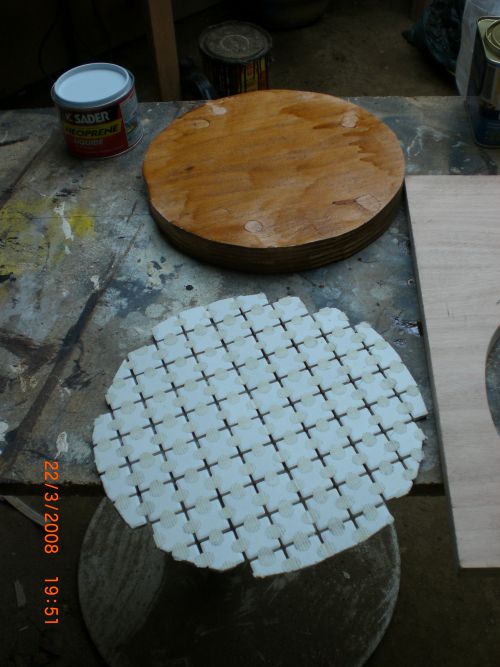
La base de l'outil pret à acceuillir les tuiles en céramique


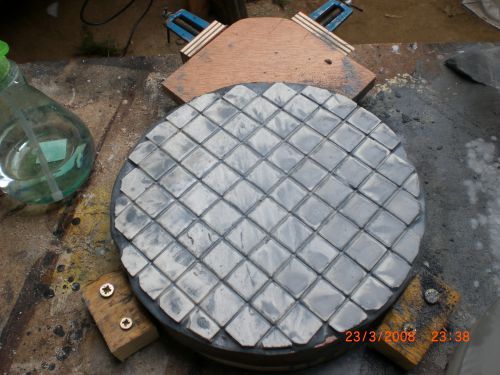
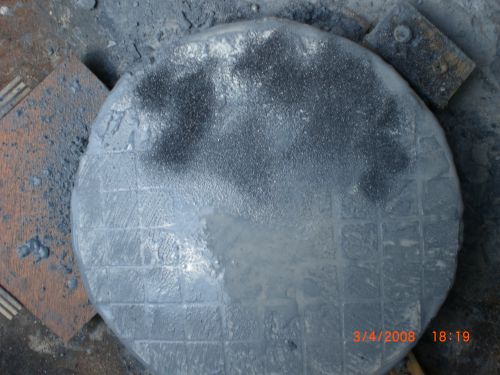
2. Démarrage de l'étape de 'Hogging out' avec l'outil fixé en place


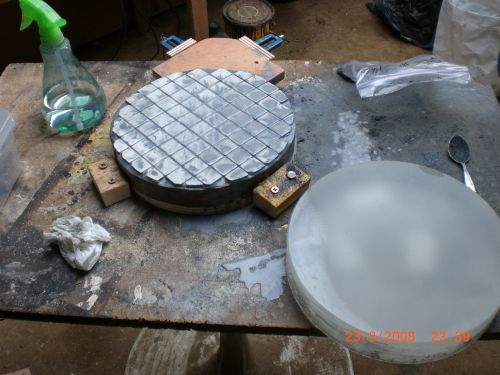
L'outil avec le miroir par  dessus


Phase de 165 micron


Suivi de l'étape de polissage avec Cerium Oxide et l'outil poix.

Cet étape terminé en fin 2008 avec un constat : des rayures très fines sur la surface du mirroir (probablement dû à l'environement non propre et donc quelques grains d'abrasives d'une phase précedent).

J'ai aussi construit un banc de test d'optique en utilisant le plan fourni sur ce site :


(Pour info: Détail des étapes notés en 2008 et repris ici en 2012.  Donc il peut y avoir des erreurs de lecture/mémoire).

19/09/2012
0 Poster un commentaire