Projects
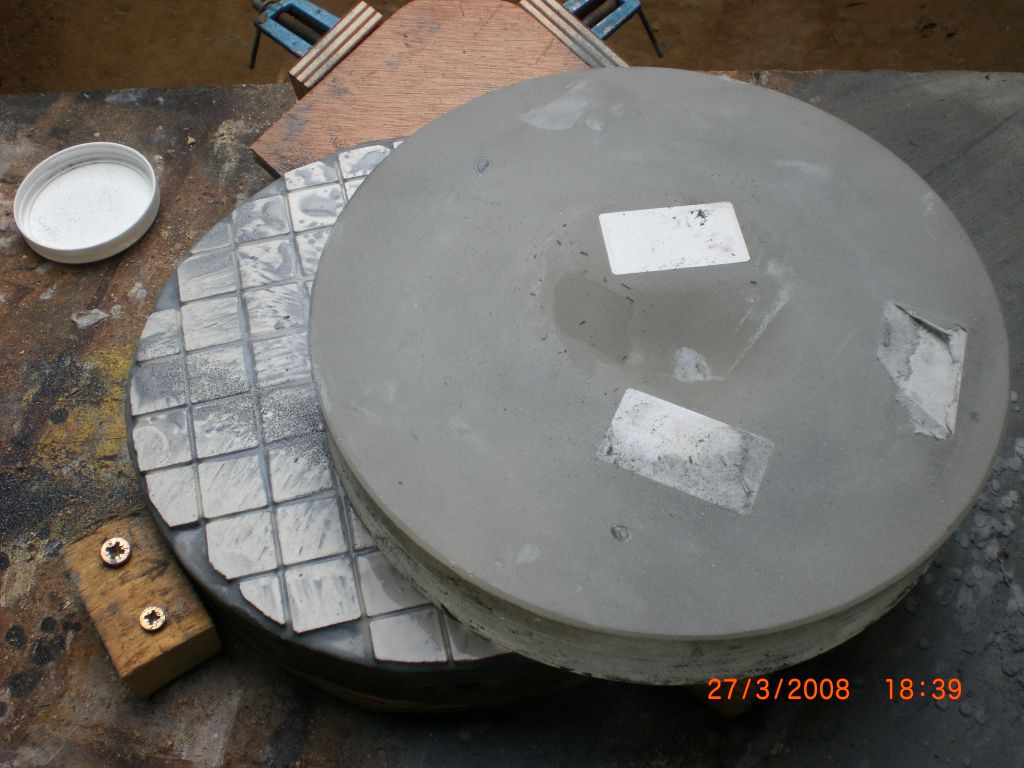
My new pinhole camera
For any reasonably competent DIYer this would be counted as amateurish and laughable, especially with the time it took to make. But here it is.
After 9 months of try outs with various types of wood. Learning their characteristics and opting finally for simple plywood. I finally have a pinhole camera that accepts 5*7 darkslides. This now enables me to take several pictures without running back home to load new paper. It was worth the effort.
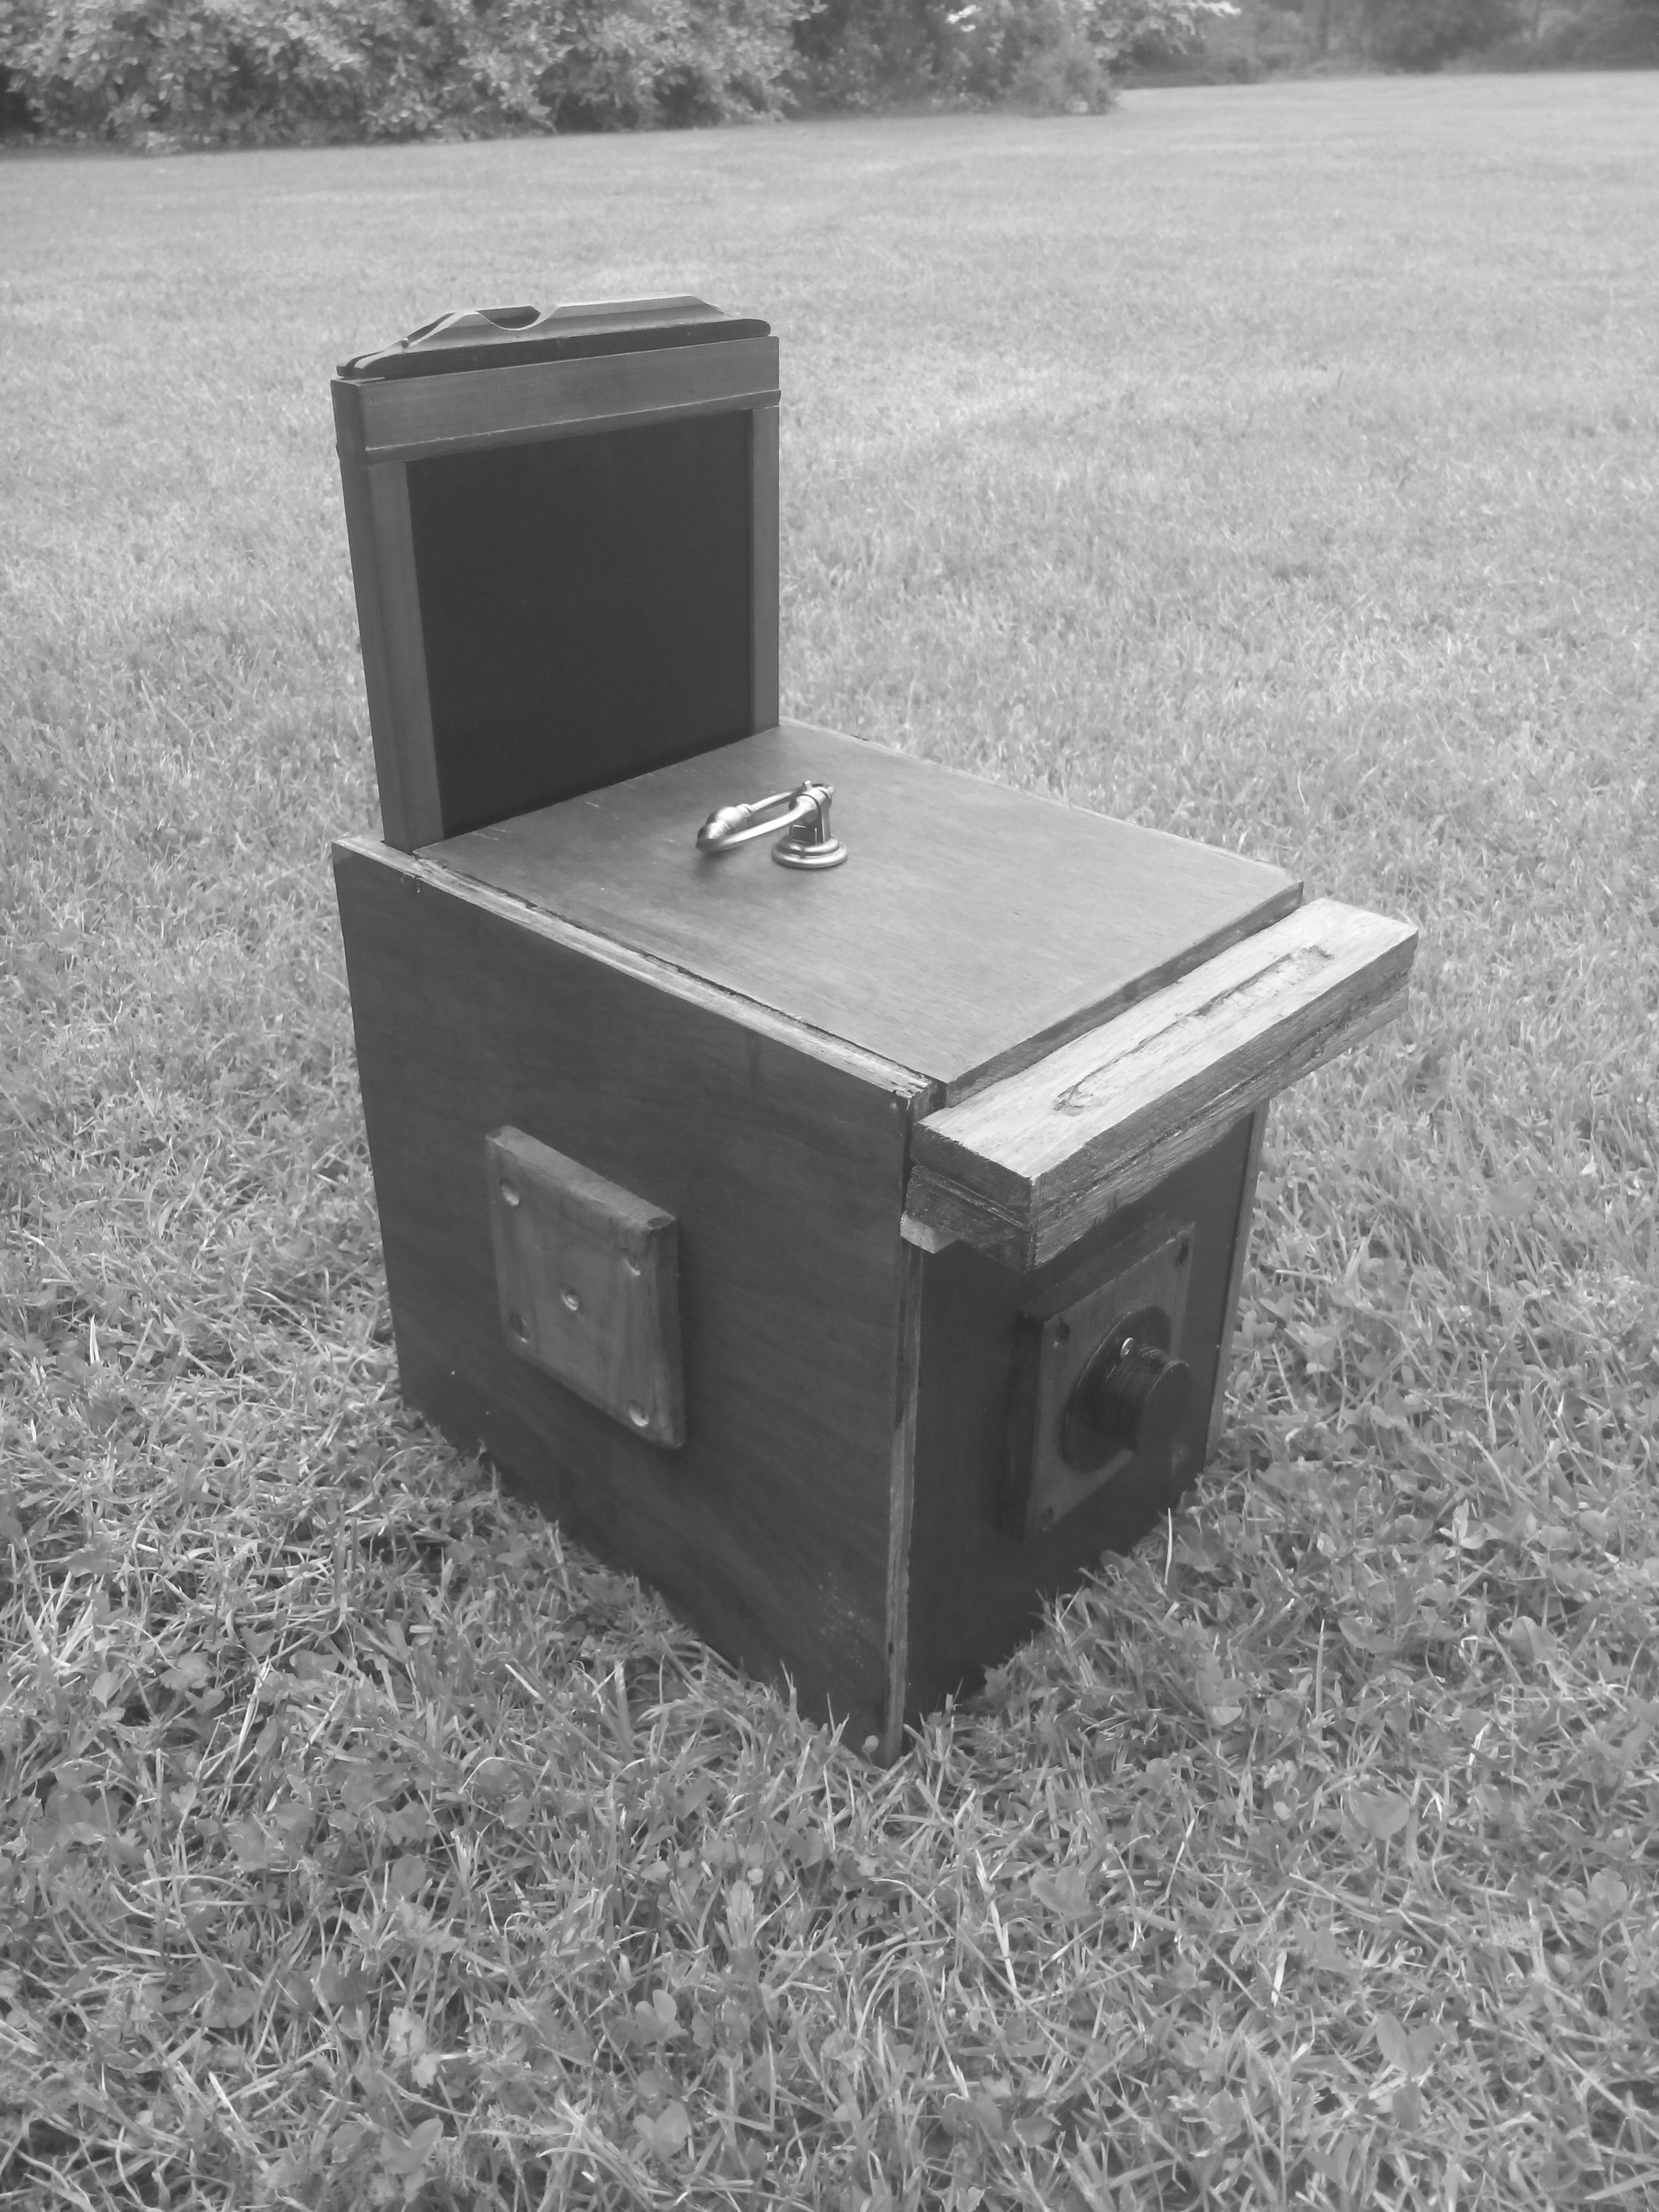
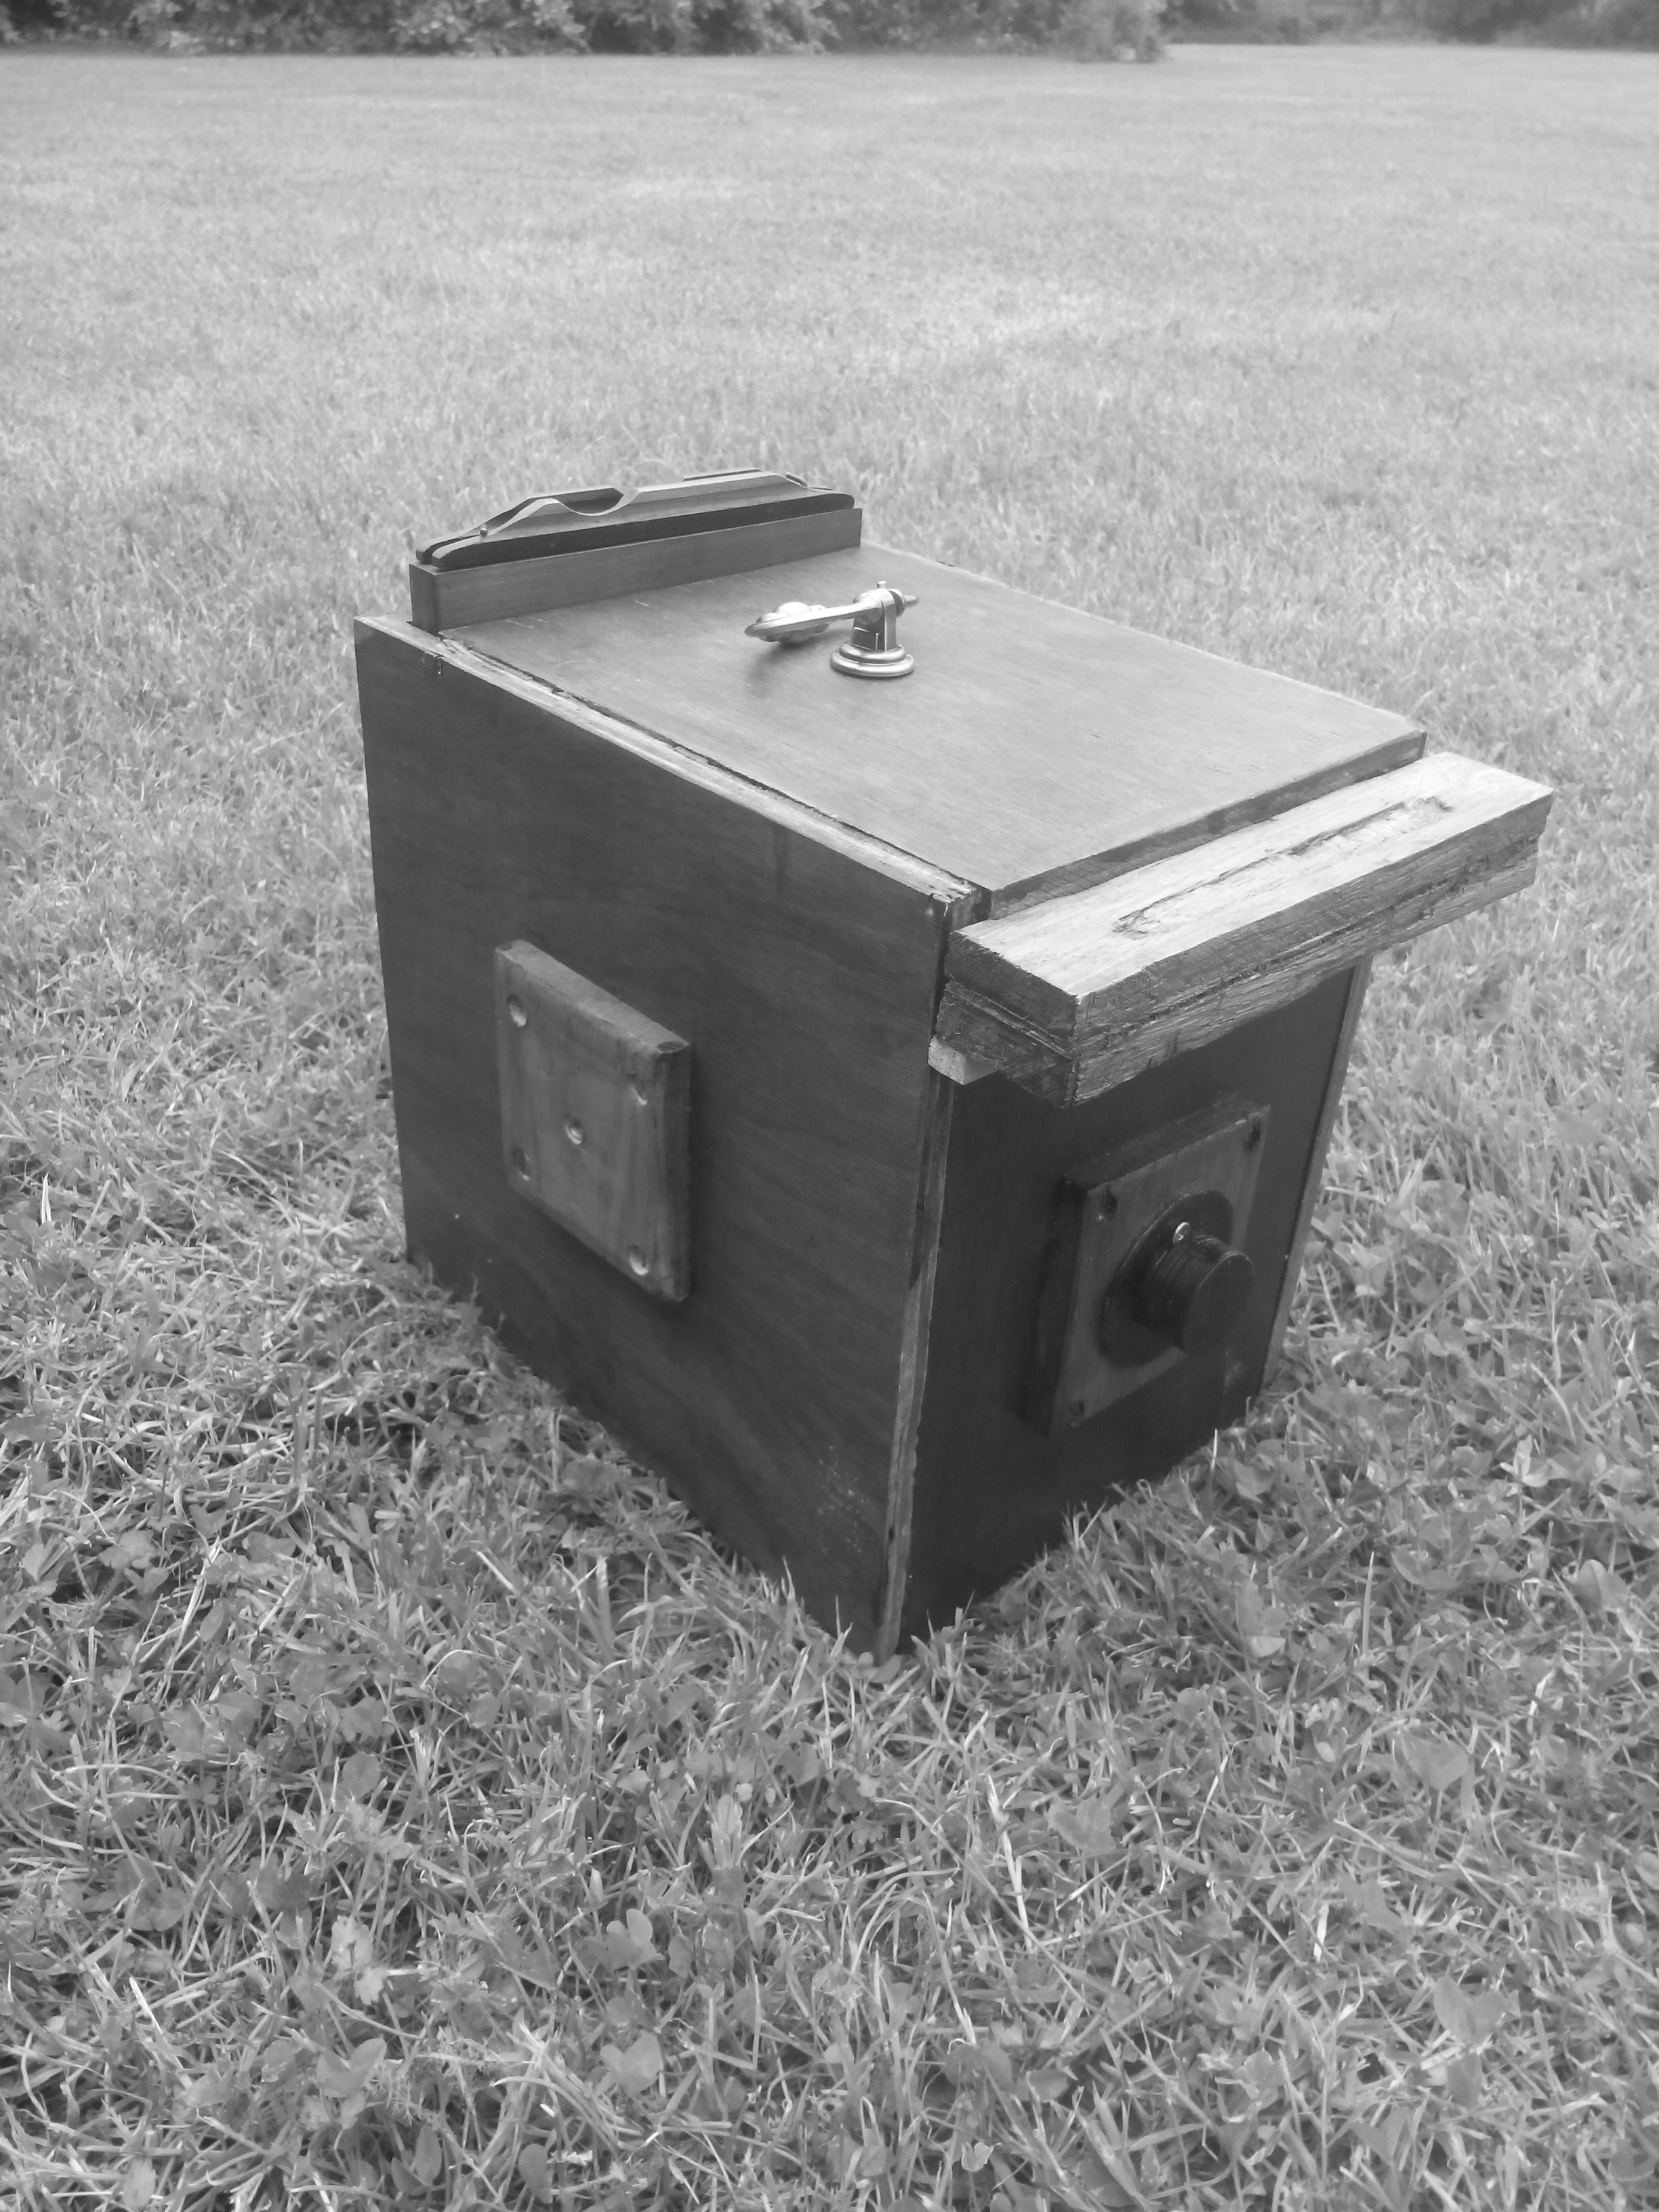
Yes, the intention was to dovetail the joints, but I am no carpenter (plywood just splinters and oak is very brittle) and I finally decided the priority was 'make the camera' not make it look beautiful. It turns out that it is strong enough as is, since I have dropped it a couple of time with no breakages.
Projection dome
Technology is now getting close to this dream (if we ignore the psychological element to the story).
This is a project to enable me to immerse myself completely in the mmporgs I play (Eve-online, TESO, ....) and maybe also to explore virtual landscapes, museums etc as envisaged by Ray Bradbury.
I have started this project several times all with no success until recently (I am not very manual), I found a link that described the simplest method for constructing a dome. This is my attempt number 4 :)
First off, here are some useful links to explain the basis of the project :
My initial attempts were based on trying to get a real spherical dome (hence the failures). I then decided to go for the geodesic dome and there are plenty of sites enabling one to calculate the dimensions of a geodesic dome. This is one that I used :


Dobson
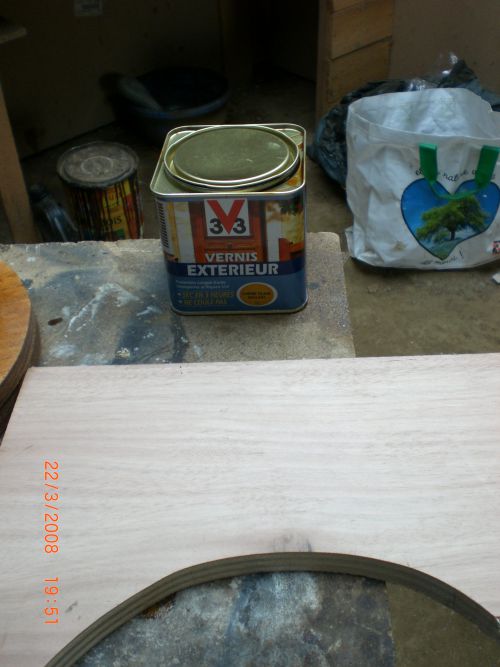
En 2008 j'ai commencé un projet de création d'un téléscope dobson avec comme premier étape la création du mirroir de 250 mm
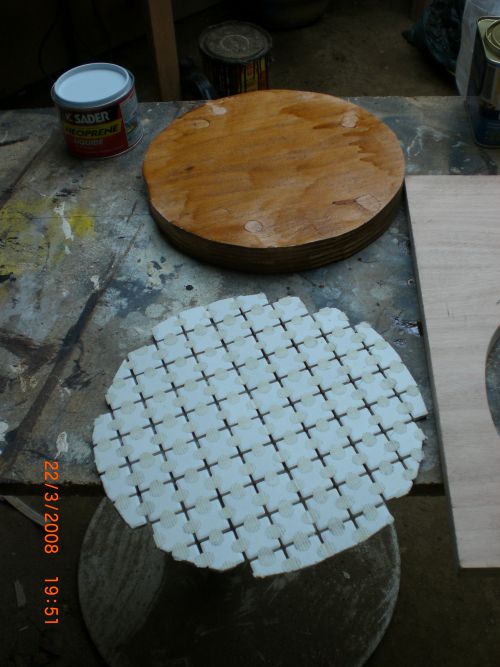
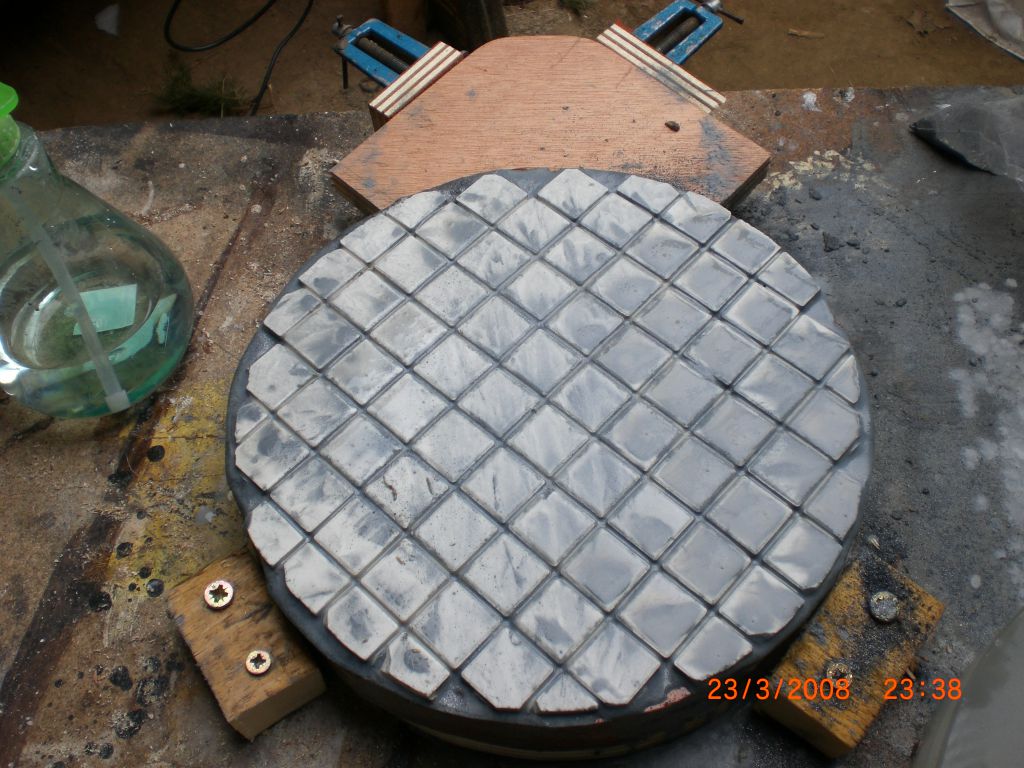
Après plusieurs semaines d'investigation, de recherches et lecture je me suis lancé en commandant le verre pyrex de 10" et un kit de polissage auprès de GotGrit
Pendant mes recherches j'ai trouvé sur le site stellafane la suite des abrasives recommandés (en microns):
254
165
102
63
32
20
15
12
9
5
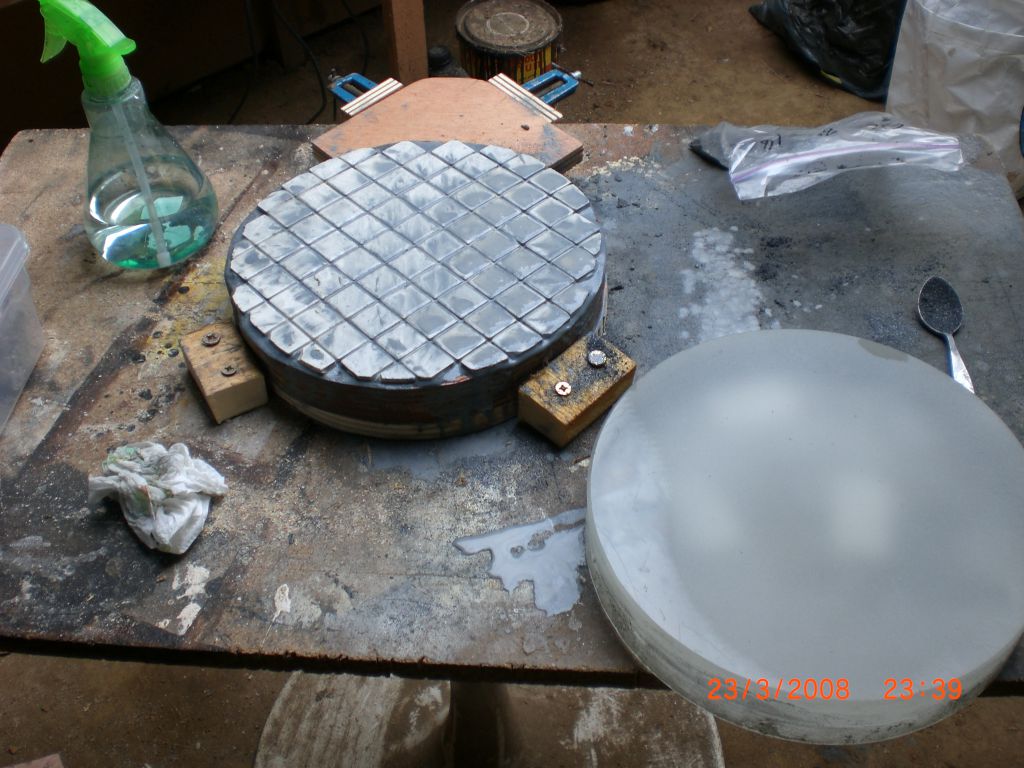

Cet étape terminé en fin 2008 avec un constat : des rayures très fines sur la surface du mirroir (probablement dû à l'environement non propre et donc quelques grains d'abrasives d'une phase précedent).
J'ai aussi construit un banc de test d'optique en utilisant le plan fourni sur ce site :
(Pour info: Détail des étapes notés en 2008 et repris ici en 2012. Donc il peut y avoir des erreurs de lecture/mémoire).
Le Sténopé
Photographe depuis 15 ans, ça sature. Je ne voulais plus toucher un appareil, noyer mes mains nus dans un bain fixe ni même regarder tous mes photos de voyages. En plus je ne trouvais aucune beauté dans l'image photographique.
Les grands photographes du 19ième et 20ième siècle ont tout dit. Les Steiglitz, Steichen, Adams, Brandt et Weston ont éteint l'étincelle de cette 'art' avec leur génie. Depuis c'est répétition, plagia et couleur.
7 ans plus tard un ami m'a montré le sténopé. Il était passionné par le sténopé et mon intérêt pour l'image photographique s'est ravivé.
J'ai construit deux appareils, un en carton sur un design qui s'appel le dirkon et un en bois de mon propre design (image à venir).
Voici quelques images de mes débuts.
Mon premier sténopé : http://www.pinholeday.org/gallery/2003/index.php?id=57
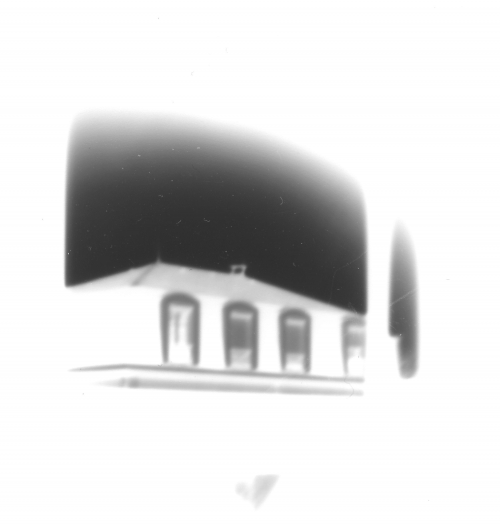
Mon premier propre sténopé avec mon dirkon
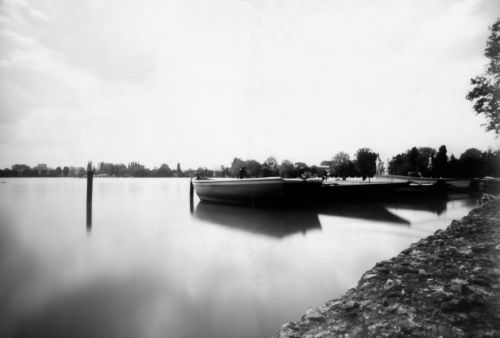
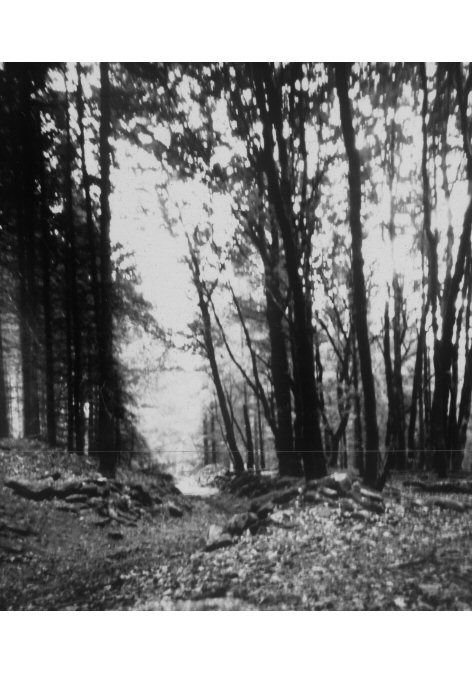
Lac d'Enghien
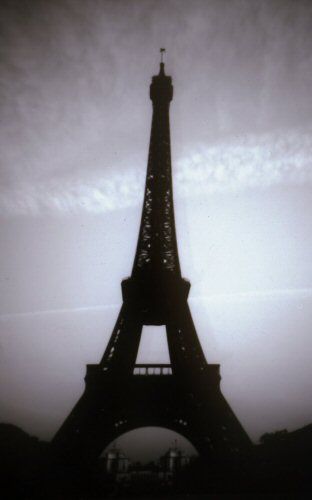
La grande dame
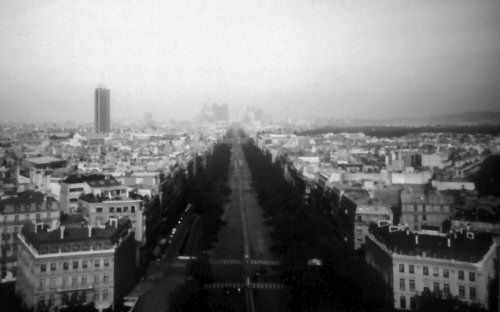
Du haut de l'arc de triomphe
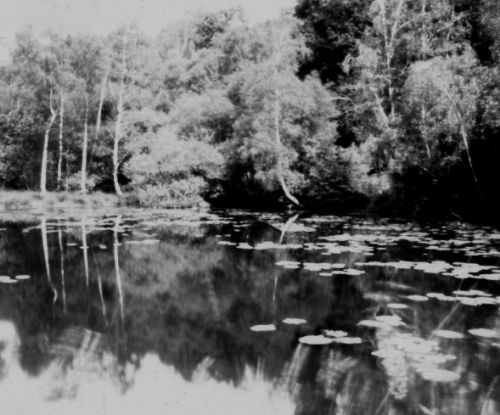
Mare d'arrènes